Hey there, my lovely nail enthusiasts! Welcome to my little corner of the salon—where coffee cups, colorful bottles, and great conversation are always on hand. Today, we’re talking all about shattered glass nails. If you’ve ever scrolled through Insta and swooned over those iridescent, glimmering nail designs, you’re in the right place. I’ve been a nail stylist for over 20 years, and let me tell you: the shattered glass trend has stolen my heart in the best way. It’s flashy yet elegant, fun yet sophisticated. Enough chit-chat—grab your favorite polish, and let’s dive in!
1. Prepping Your Nails for the Shattered Glass Look
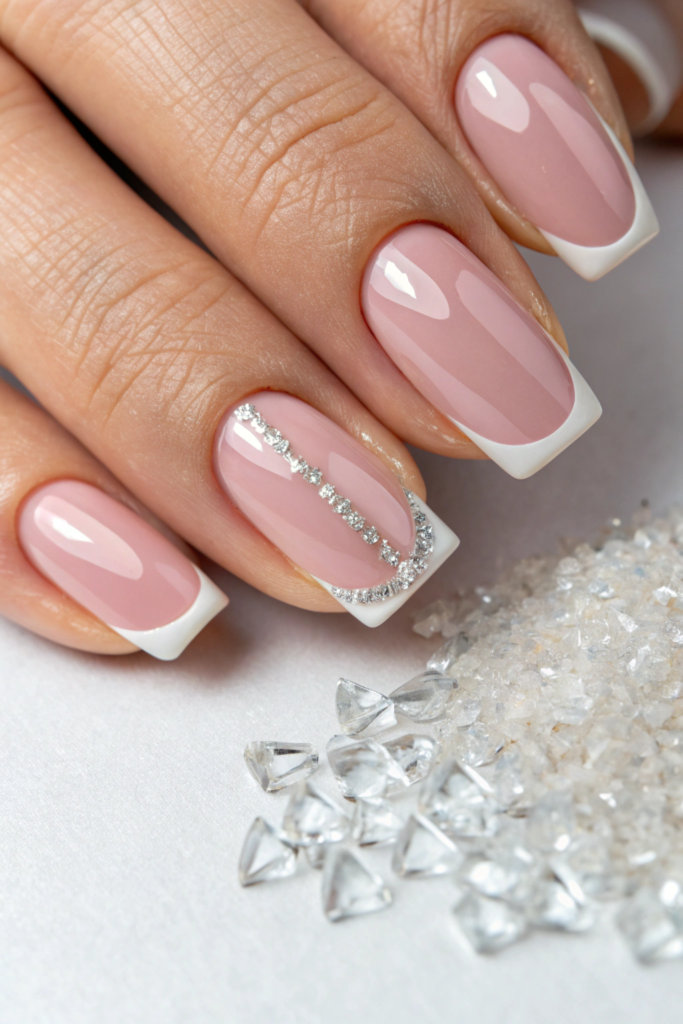
First things first: healthy nails make for the best canvas. I can’t stress this enough. Whether you’re a pro or a total newbie, give your nails a quick shape-up, file away any rough edges, and push back those cuticles. This ensures your iridescent foil or cellophane pieces stick smoothly and don’t peel off prematurely. A buffed and clean surface means your shattered glass manicure will last and stay on fleek for days (maybe even weeks if you’re extra careful).
2. Choosing Your Base Color Wisely
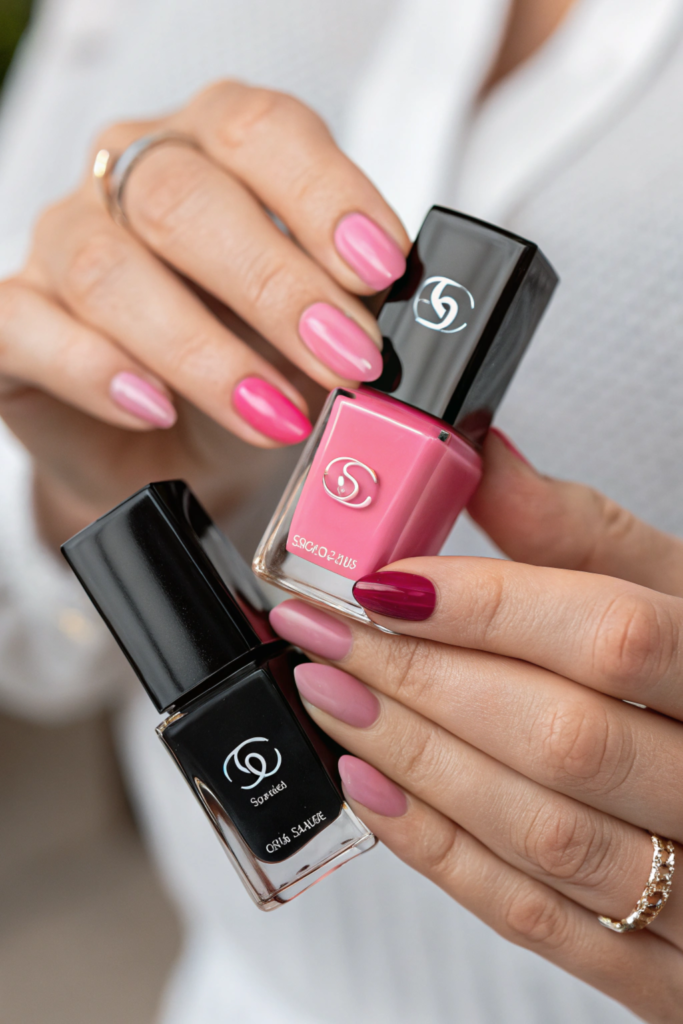
Now, the base color can make or break the whole shattered glass vibe. Bright pinks, deep blues, or even a simple nude can look stunning. It all depends on your personal style—and the occasion. Trying to make a bold statement? Go for a high-contrast color like black or royal purple. Want something subtle yet mesmerizing? A sheer baby pink or pale lilac will show off your glass shards beautifully.
3. Picking the Perfect Shattered Pieces
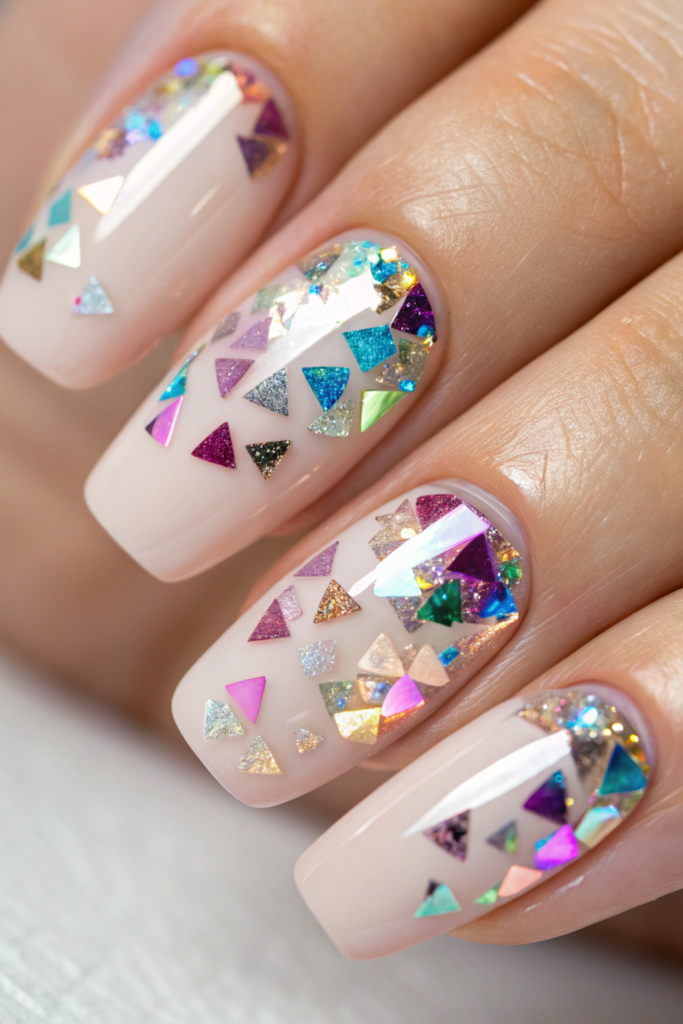
When we talk about “shattered glass,” we usually mean small, translucent shards that reflect light from all angles. You can use cellophane, special iridescent foil, or even store-bought nail art flakes. The goal is to layer them in a way that catches the light and creates that mesmerizing sparkle. Trust me, once you see it glimmer under the salon lamp, you’ll be hooked!
4. Applying the First Layer of Polish
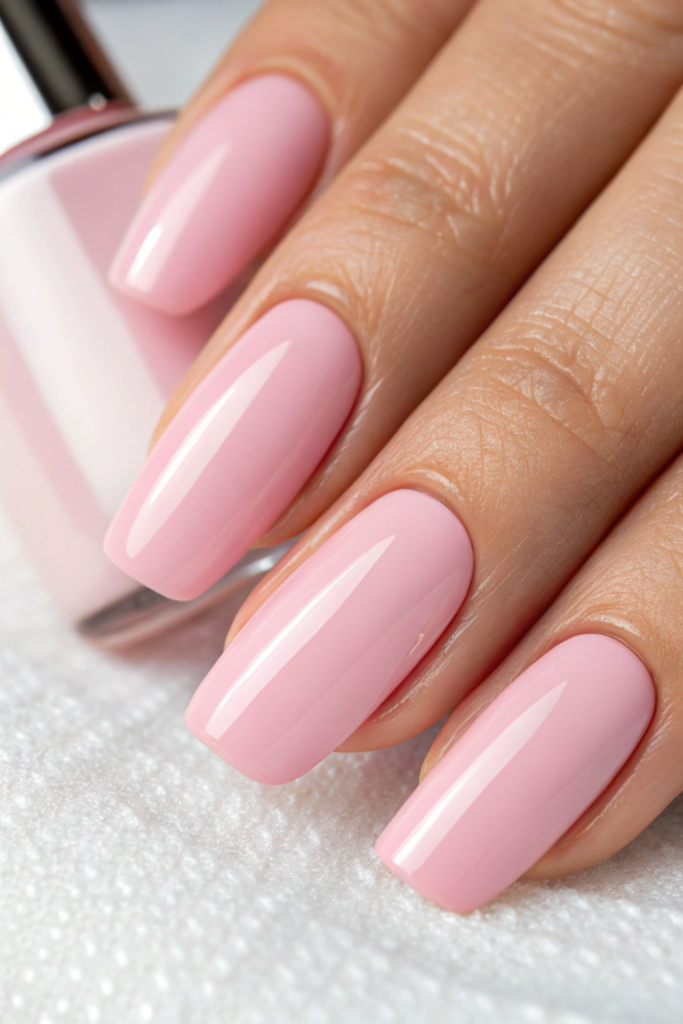
Time to layer up. After your base coat, apply your chosen polish color, nice and even. Cure it under a UV or LED lamp if you’re using gel polish (or let it dry if you’re more of a traditional gal). Don’t rush this step—smudges can ruin the entire shattered glass effect. Patience, my friend, is key.
5. Placing Your Iridescent Shards
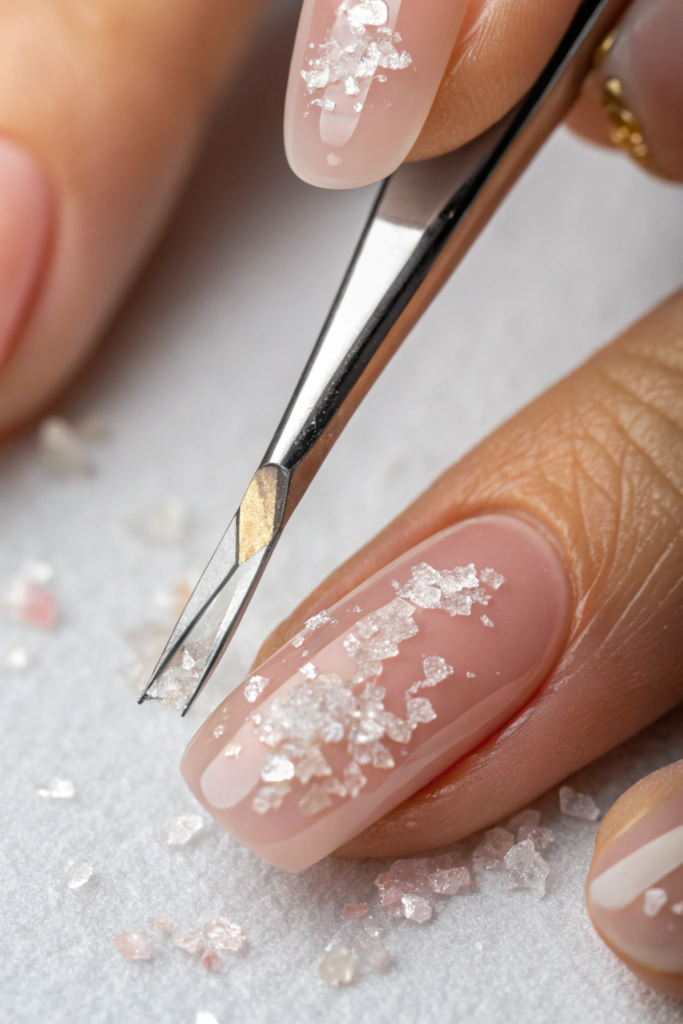
Here’s where the magic happens! While your top coat is still tacky (not fully cured), place your shards gently, using tweezers or a detailing brush. I like to scatter a few pieces near the cuticle and fan them out for an ombré look. You can also concentrate them on the tips for a French-like design. Whatever floats your boat—get creative!
6. Sealing It In with Top Coat
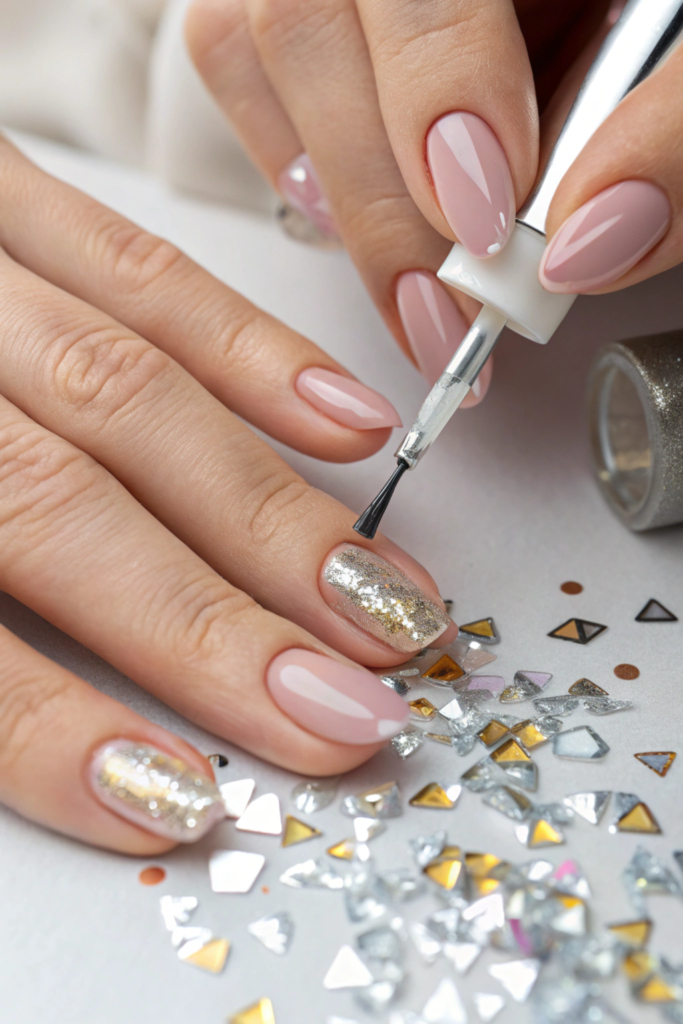
Now that your glass shards are in place, lock ‘em in with a generous top coat. Gel or regular polish works—just remember to fully cure or let it dry so you don’t accidentally stick your nails onto your car keys or something silly (been there, done that). The top coat also adds a glossy finish that enhances the shattered glass illusion. It’s like a camera lens focusing on all that sparkle.
7. Trying Out Different Shapes and Angles
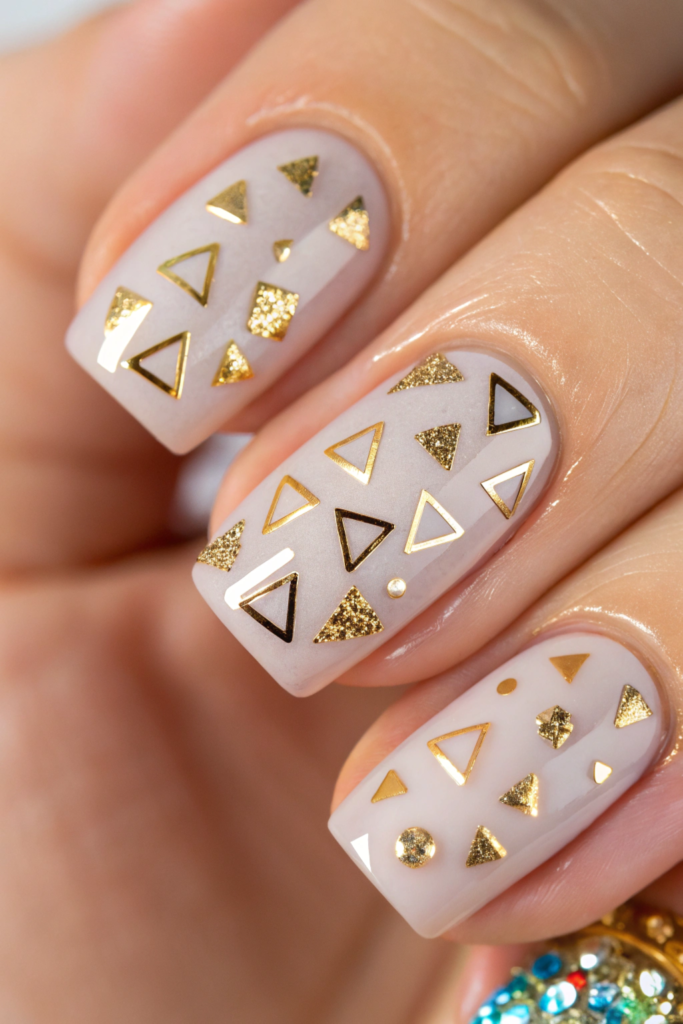
This subtopic is all about experimentation. One thing I love about shattered glass nails? You can cut your foils into cute shapes—triangles, diamonds, irregular shards. The more variety, the cooler the light reflection. And if your foil pieces overlap? Even better! It creates a layered, three-dimensional effect that’ll have everyone asking, “Where do you get your nails done?”
8. Incorporating Glitter or Gems
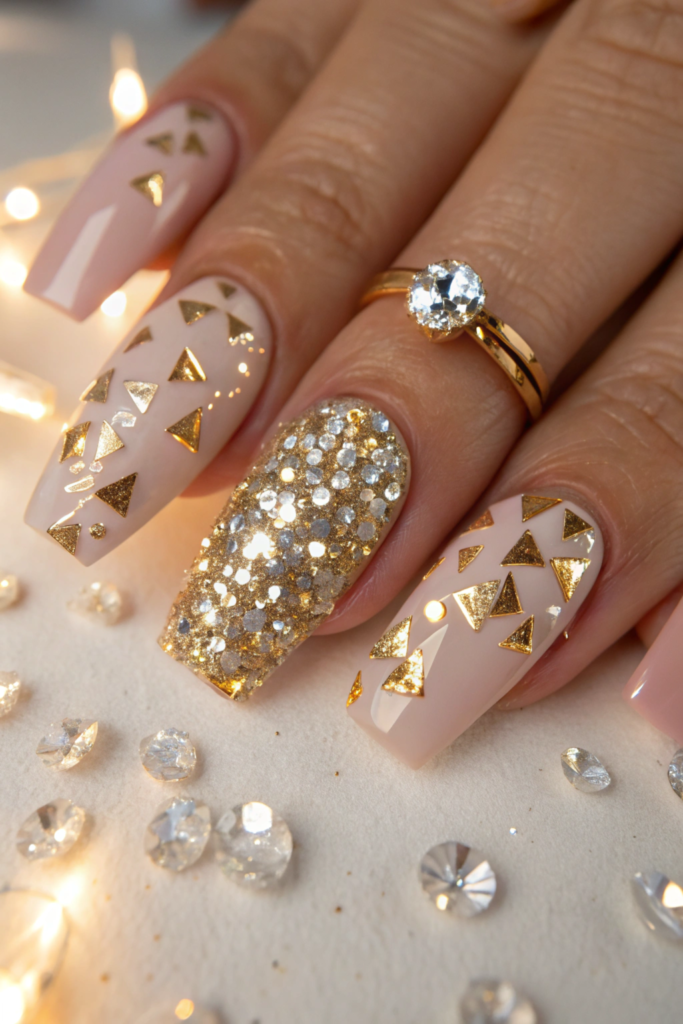
Feeling extra? Combine your shattered glass design with a sprinkle of glitter or a few rhinestones. I love applying tiny gems along the edge of the foil for a bit of drama. Or a delicate line of glitter at the cuticle to transition the natural nail to the shattered glass accent. Because, hey, when it comes to nails, you can never have too much sparkle—am I right?
9. Playing with Colored Foil
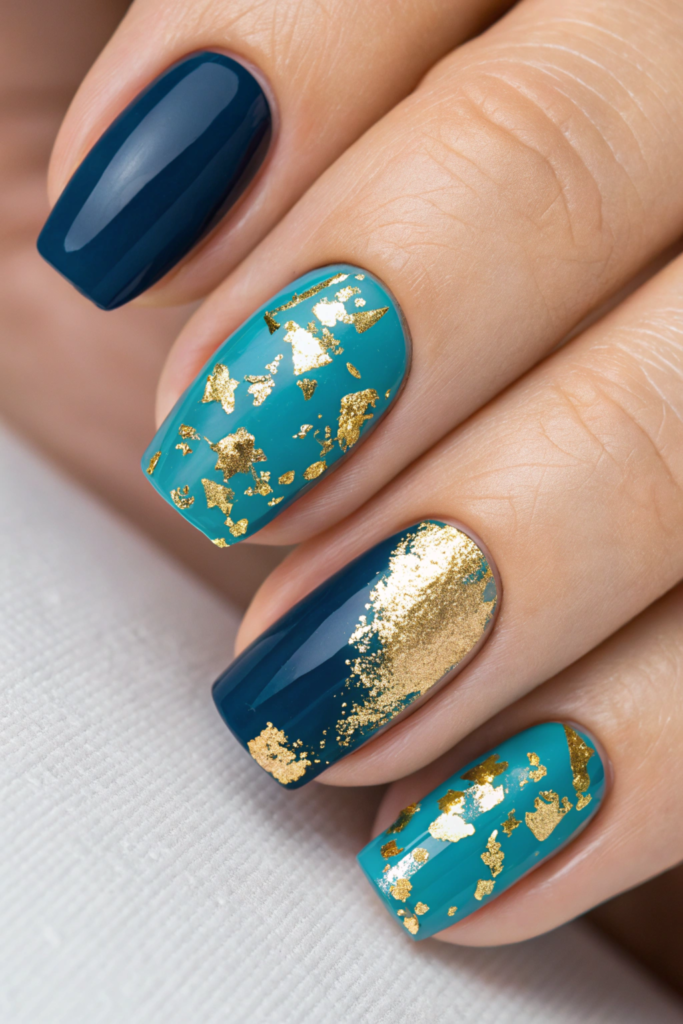
If you really want to make your shattered glass nails pop, try tinted or colored foils. Iridescent pink, holo green, or even metallic gold can add that ‘wow’ factor. Sometimes I’ll use a teal foil with a navy blue polish, and it’s absolute mermaid goals. It’s all about layering those colors so you get a multi-dimensional, prismatic effect under every angle of light.
10. Mixing Textures
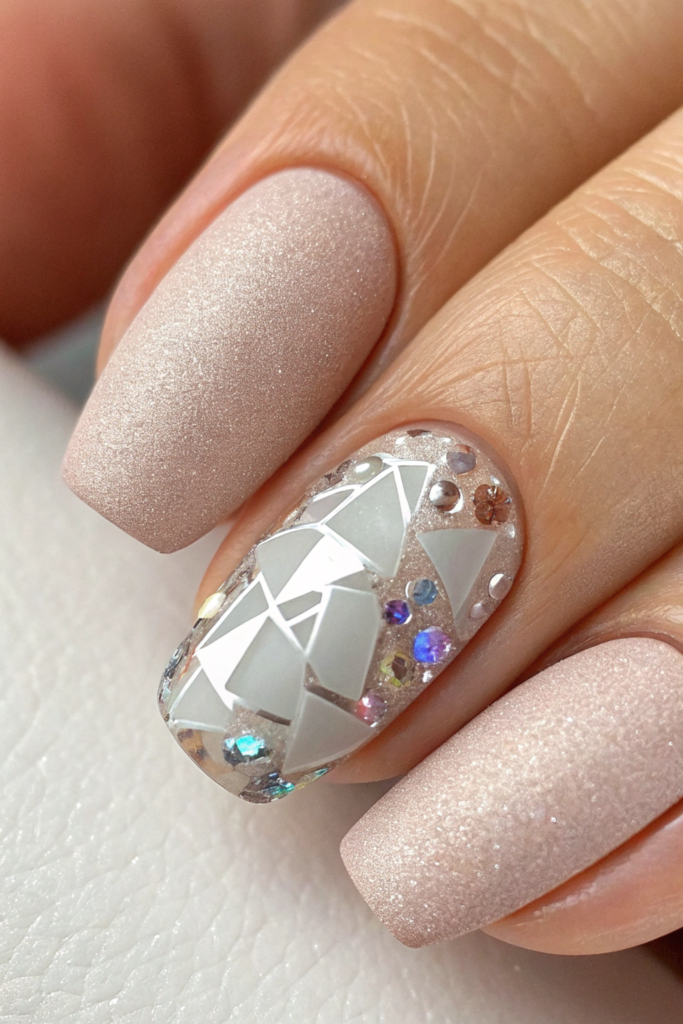
Try layering chunky foil with finer glitter or mixing glossy nails with a matte top coat on accent nails. It’s that balance between glossy and matte, smooth and sparkly, that makes your manicure look runway-ready. Trust me, even after 20 years of doing this, I still get excited when I mix textures.
11. Maintaining the Look
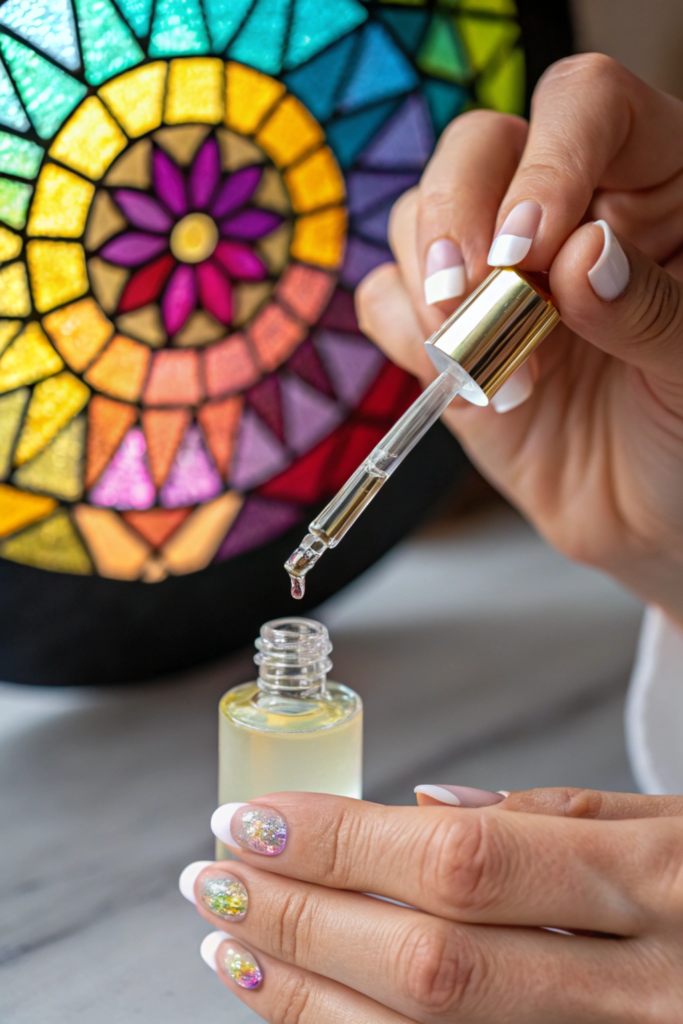
Shattered glass nails are a head-turner, but you’ve got to protect that masterpiece. Wear gloves when washing dishes, avoid harsh chemicals, and keep a hand cream or cuticle oil nearby. This helps the top coat stay intact and those iridescent shards stay stuck. And if you’re using gel, come back to the salon for a quick refresh in a couple of weeks.
12. Removing Shattered Glass Nails Safely
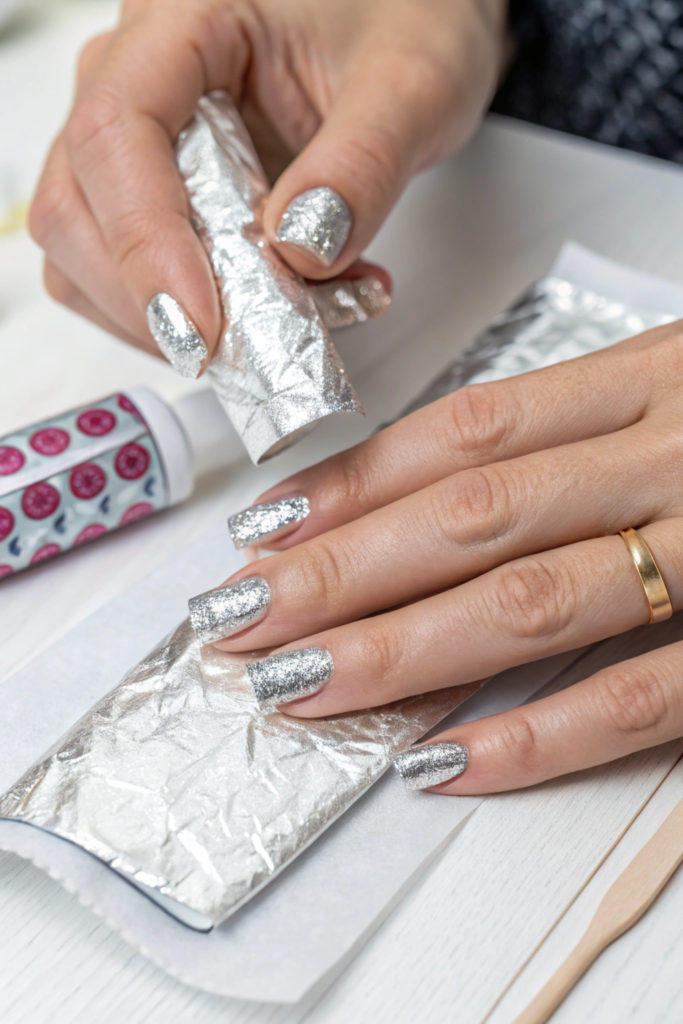
When it’s time to change up your look, remove everything gently. Soak a cotton ball in remover, place it on your nail, and wrap it in foil (the non-iridescent kind, obviously!). Wait for around 10 minutes before wiping away the polish and shards. No picking or peeling, please—you want to keep those natural nails healthy and strong for your next big style.
And there you have it—12 ways to rock shattered glass nails like you just waltzed out of a high-fashion runway show. From prep to removal (and all the sparkly steps in between), this technique is a total game-changer for those looking to spice up their manicure routine. Whether you’re a minimalist or a go-big-or-go-home glam queen, I promise there’s a shattered glass style that’ll speak to your soul.