Hey there! If you’ve been eyeing those sparkly, jaw-dropping 3D gem nails on social media, you’re in the right place. In my twenty years of doing nails, let me tell you: once you go 3D, you never go back. There’s just something extra about adding a little—or a lot!—of dimension to your manicure. Today, I’m spilling the beans on thirteen different ways to place those gorgeous gems so they pop from every angle. Ready to get that glow?
1. The Cuticle Crown
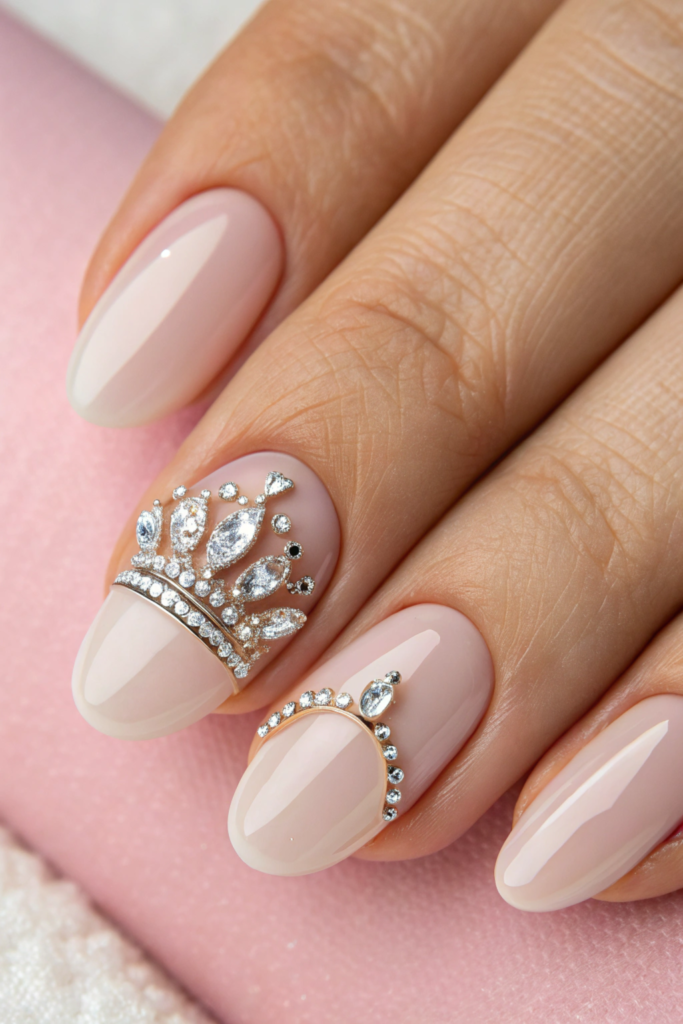
Ever see nails that look like they’re wearing tiny tiaras? That’s what happens when you place 3D gems right at the cuticle line, forming a neat little cluster. You can make it as dainty or as bold as you like. A few small crystals around the cuticle can look super classy, while larger statement stones give a more glamorous vibe. This style suits every nail shape, but it’s especially gorgeous on almond or coffin nails, because it elongates the finger while drawing attention to the base.
2. Side Sparkle
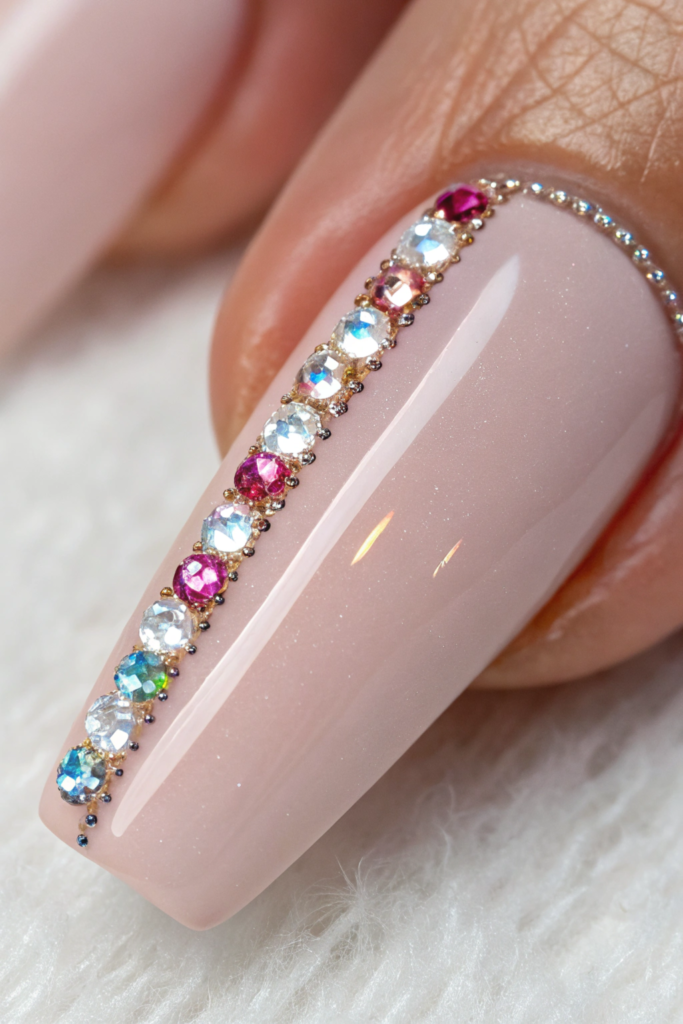
If you love the look of an accent but don’t want gems running down the center, try a side sparkle design. I usually place a line of stones along one side of the nail, working from the cuticle up to the tip. It’s sleek and eye-catching. Plus, you can vary the stone sizes for a more textured look. This one’s perfect for those who want 3D gem nails without going over the top.
3. Half-Moon Halo
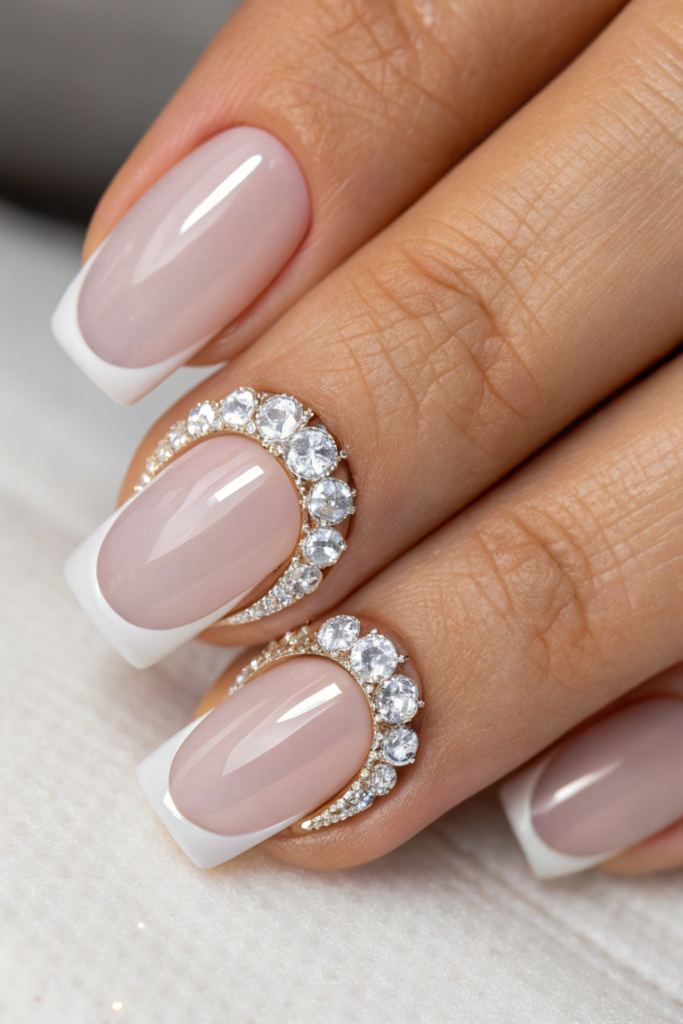
The half-moon is that little crescent shape near your cuticle. Usually, we highlight it with a lighter polish or metallic color. But instead, try making that half-moon pop with some 3D gem accents. This placement adds a chic twist to a classic mani. I love doing this design in a French manicure style, where the rest of the nail is super natural, so the gems stand out like little halos.
4. Diagonal Dazzle
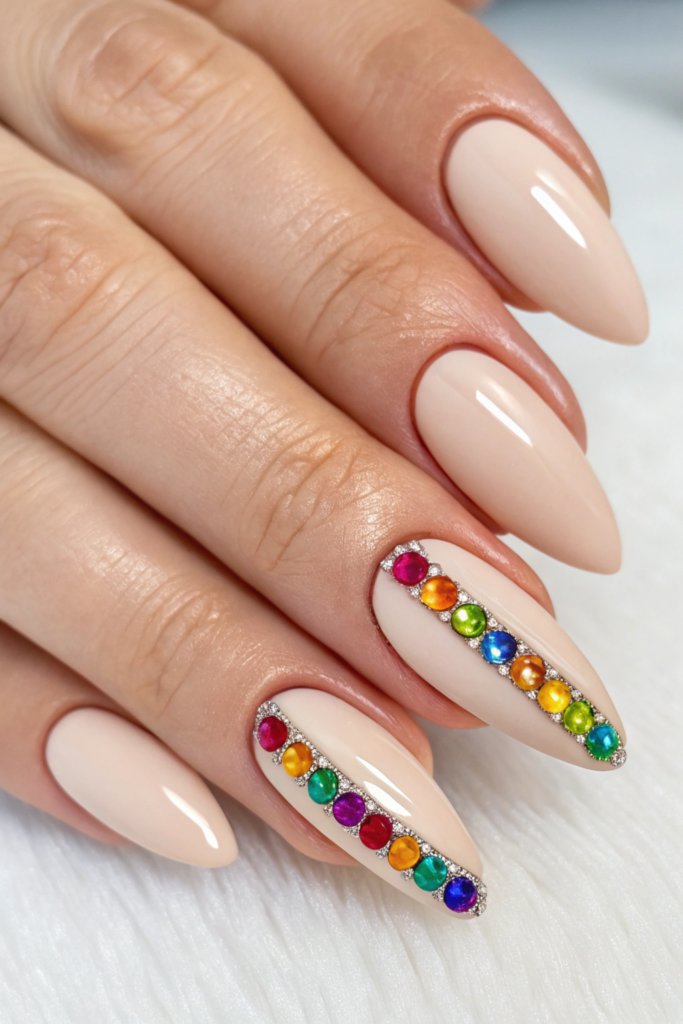
Diagonal placement is such a fun way to switch things up. Picture a diagonal line of gems stretching from one corner of your cuticle to the opposite corner of your free edge. It’s like a lightning strike of sparkle. You can add a splash of color to match a special outfit or keep it all silver and clear for a classy vibe. I’ve used this approach on brides who wanted a unique but still sophisticated design.
5. Tip Encrusted
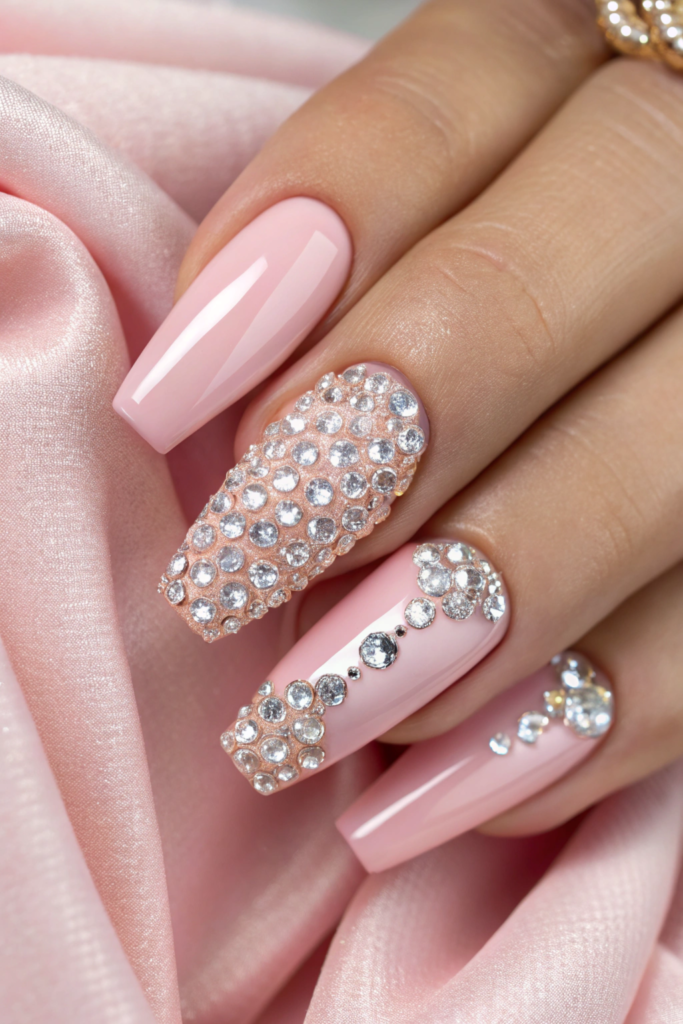
Sometimes, you just want to dazzle at the tips! And gem-encrusted tips are basically the ultimate statement for 3D gem nails. I’m talking bling from one side to the other, with zero gaps. It’s almost like wearing a ring on each finger. If you love bold nail art, this one will have you shining brighter than a disco ball.
6. Centered Single Stone
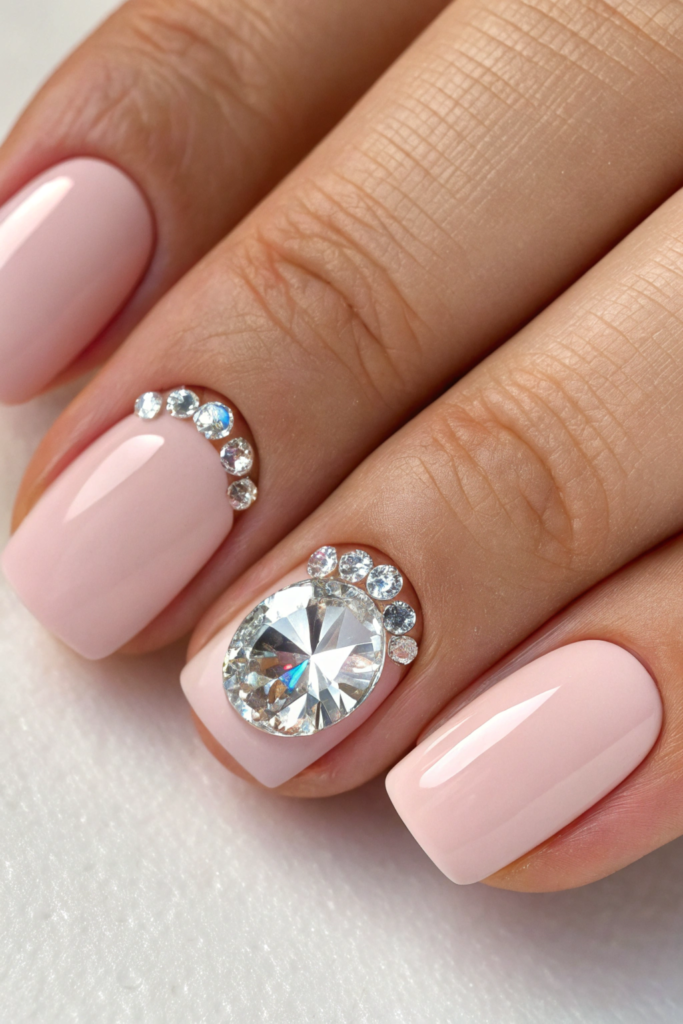
Understated but still eye-catching? That’s the centered single stone look. Place just one gem in the very center of your nail. It’s a minimal approach that’s perfect if you work in a conservative environment but still want a hint of glam. I once had a client who said, “I wanna be classy with a dash of sass,” and let me tell you, this design nailed it.
7. Cascading Corner
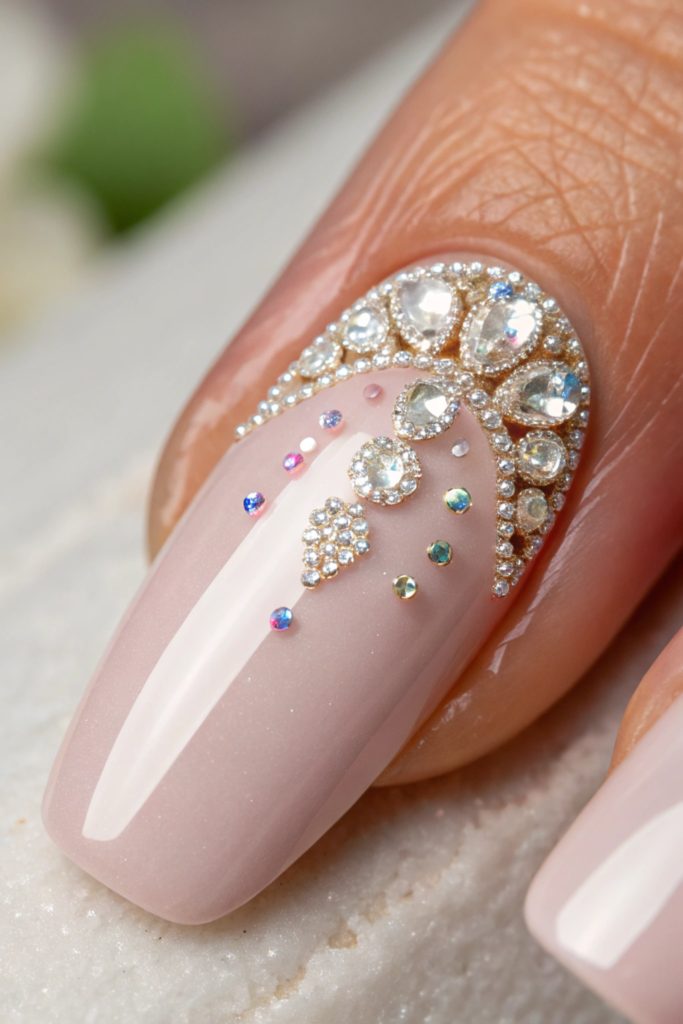
Ever hear of a “corner cascade”? Just gather some gems in one corner of the nail and let them trickle diagonally. It can be near the cuticle or near the tip, whichever suits your style. This approach can be combined with glitter accents or negative space designs for extra flair. Great for those who love an artsy vibe.
8. The Focal Accent Nail
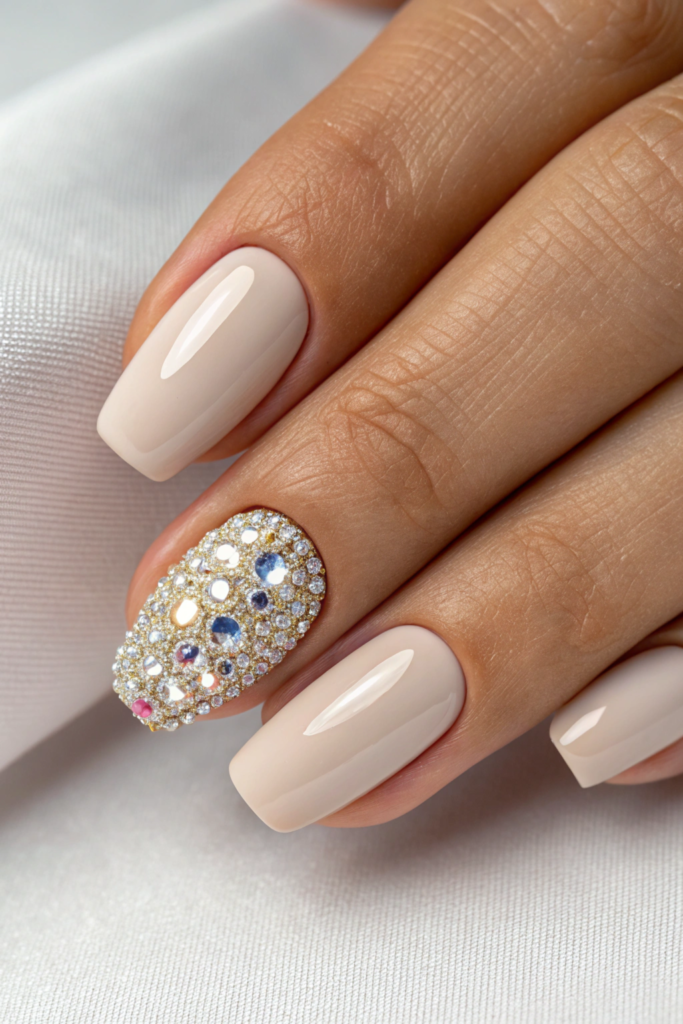
Sometimes you just wanna show off one nail. Usually, the ring finger is our go-to for that accent. Piling on the gems there makes for a stunning focal point, while the rest of your nails can stay plain or have minimal designs. This technique is super popular for special occasions like prom, weddings, or whenever you wanna be fancy but not overly bedazzled.
9. Layered Gems on Negative Space
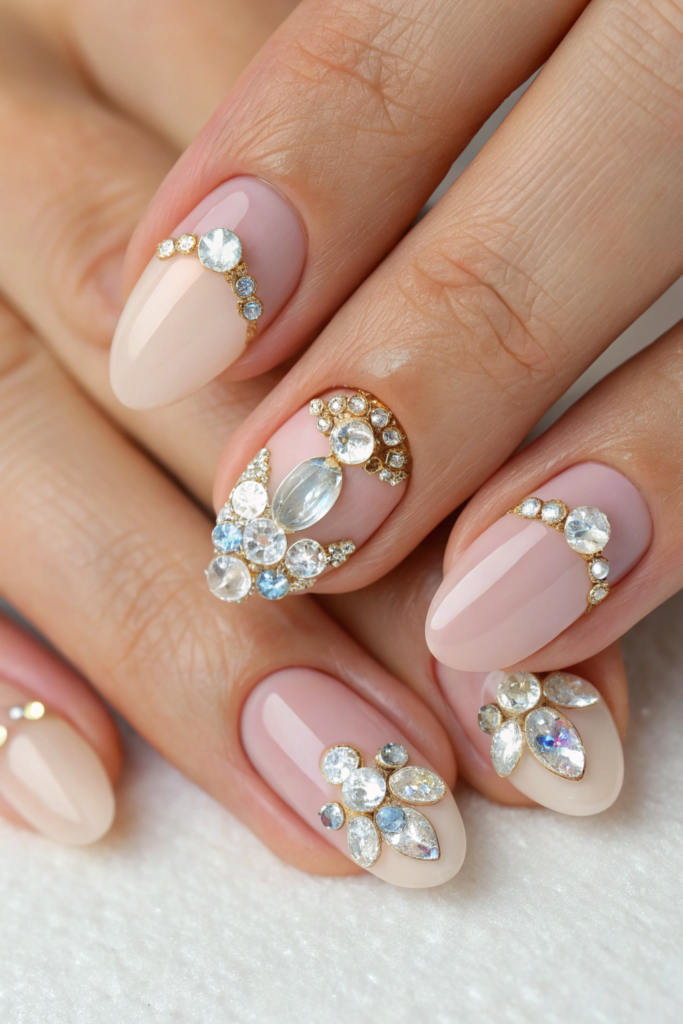
If you’re a fan of negative space nails (where part of the natural nail shows through), layering gems on top can turn up the drama factor. I like to leave thin nude strips or shapes unpainted, then place 3D gems for a modern twist. The transparent sections make the gemstones really stand out, almost like floating crystals.
10. Full Nail Bling Bomb
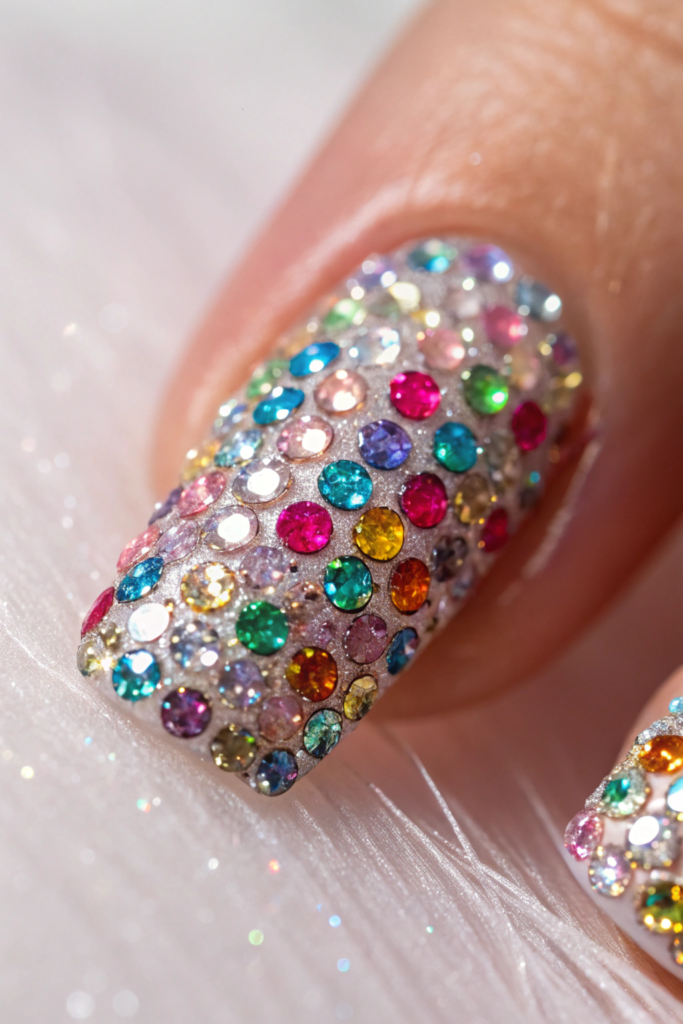
Let’s say you woke up and chose maximum sparkle. That’s where the full nail bling bomb comes in. Cover the entire nail with small crystals, beads, studs—basically anything that shines. It’s like you dipped your fingertip in diamonds. Just be prepared: this style will get you noticed from a mile away, but hey, isn’t that the point?
11. Striped Sparkle
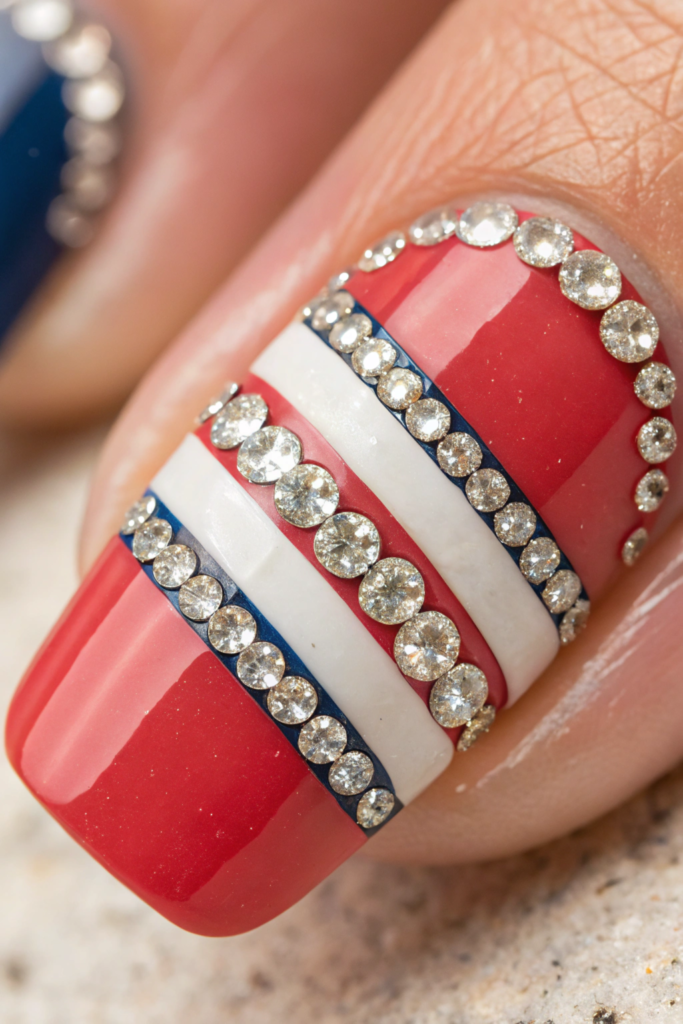
Striped sparkles are a great option if you love a graphic look. Paint your nails with a bold color, then create vertical or horizontal stripes with 3D gems. You can even vary the width of each stripe for a funky, edgy effect. This style screams “fashion-forward” and works wonderfully for those who aren’t afraid of some color blocking or pattern mixing.
12. French Tip Remix
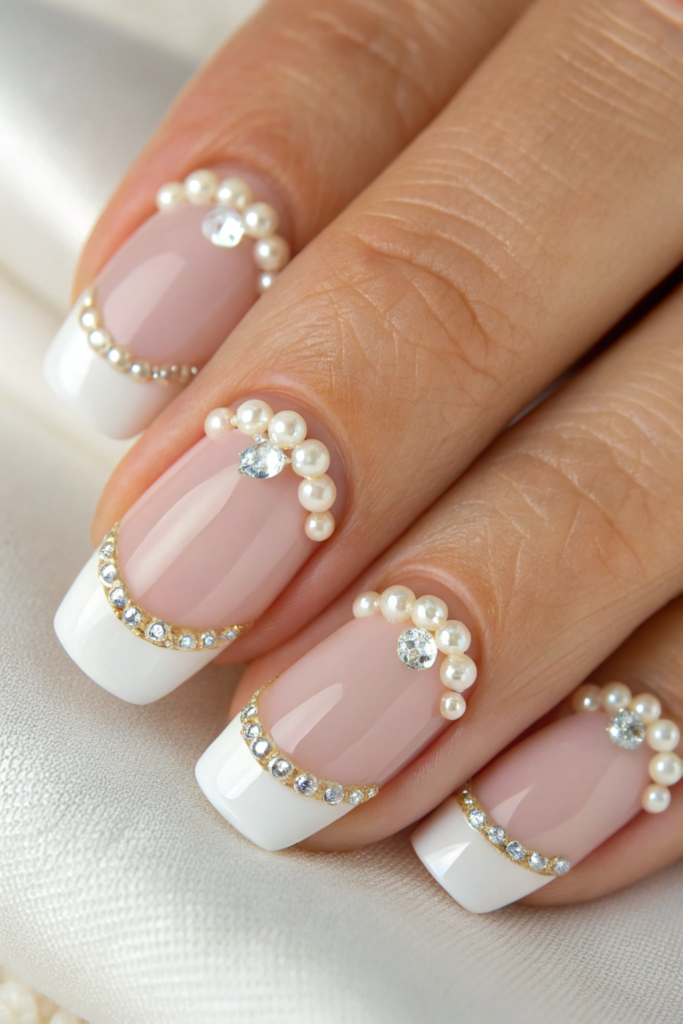
Classic French tips are chic, but let’s be real, sometimes you wanna mix it up. A 3D gem line right where the white tip meets the nude base can take your French mani from simple to show-stopping. I personally love adding a tiny pearl or crystal right along that smile line. It’s subtle but instantly elevates your look to something more, well, glam.
13. The Double Decker
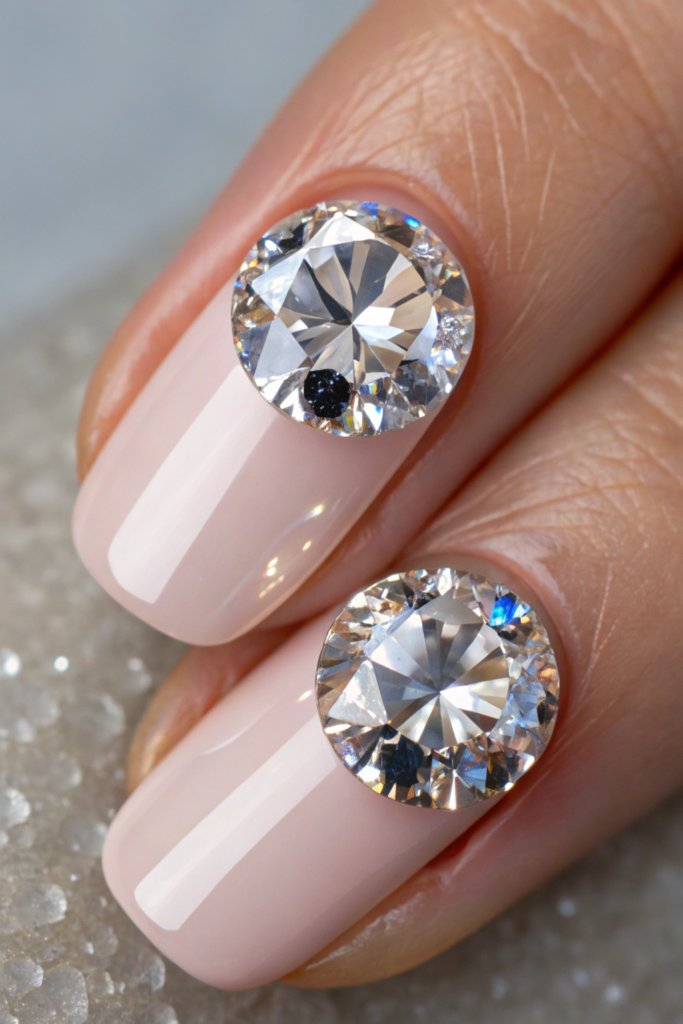
For all my extra queens out there, the double-decker approach layers two or more gems, one on top of the other, to create a really lifted, textured look. It’s like a 3D gem nails version of a layered cake—more is definitely more. Just keep in mind, you’ll want a strong nail underneath, so gel or acrylic is usually best for support.
And there you have it, my top thirteen ways to place 3D gems for maximum impact. From subtle accents to full-on bling bombs, there’s a style for every mood and event. So next time you’re looking to step up your manicure game, remember these ideas. If you’re still feeling stuck or wanna brainstorm something uniquely yours, don’t hesitate to book an appointment. Let’s get those nails shimmering like the stars!